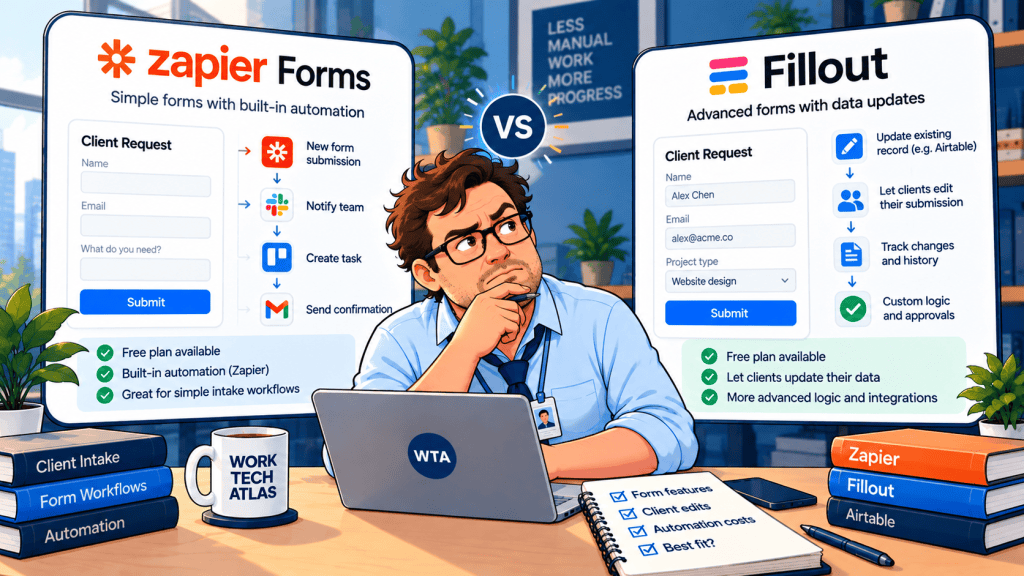
A three-person agency needs a form for new client requests. The first version works: someone submits a brief, the team receives it, and a project gets created. Then a client asks to correct the deadline. If the form creates a second request, the agency may now have two briefs, two owners, and two different dates.
Zapier Forms vs Fillout is not simply a contest between two form builders. It is a choice about where a request lives, how a correction reaches the original record, and which limits appear once you add routing and client access. The important question is what happens when the same client comes back a week later.
Zapier Forms vs Fillout: the short answer for client intake
Choose Zapier Forms when your team already works in Zapier Tables, wants an intake page that can trigger other Zap workflows, and can keep form submission separate from approval. Choose Fillout when Airtable is the source of truth and clients need to return later to update a specific record without entering the base.
Neither choice automatically makes a submitted request approved, or makes a public link private. Those are workflow decisions you still have to design.
| Decision point | Zapier Forms | Fillout |
|---|---|---|
| Basic new-request intake | Form submissions can feed Zapier Tables or trigger Zaps | Native integrations can send submissions to Airtable and other databases |
| Conditional questions on the free plan | Not available; conditional field logic requires a paid Zapier plan | Available on Free |
| Existing-record corrections | Editable Zapier Tables can be displayed through a Table component; Airtable changes require a separately designed route | Airtable Update record mode uses a record-specific prefilled link |
| Default client access | A form project can be accessible to anyone with its link | A shareable form link is not proof of the respondent’s identity |
| Pricing pressure | Form submissions are not priced individually; account record limits and downstream Zap tasks still matter | Monthly response allowance and plan-gated features matter |
Comparison based on vendor documentation checked October 30, 2026. Features and limits can change; check your account before buying.
Start with the destination, not the form design
Zapier Forms is the front door to the broader Zapier platform. You can build a form from a blank page or a Zapier Table, store submissions in a table, and use a form action to start a Zap. That can make sense when one reviewed request must reach a team inbox, a task queue, and eventually a CRM. The form does not have to become your system of record, but you must name which database will be.
For a team already using Zapier Tables, keeping the intake page and the request record in the same environment can reduce one connector. That is a convenience, not a guarantee against duplicate tasks. The downstream automation still needs a rule that says whether a submission is new, a correction, or a request to reopen approved work.
Fillout takes a different route for an Airtable-based agency. Its native Airtable connection supports creating records and an explicit Update record mode. That matters when the client should change the existing brief rather than create a fresh one. A direct Airtable mapping may be simpler than a form that first stores data elsewhere and then uses a Zap to find and update the matching Airtable record.
This is also why the question differs from our Zapier Tables vs Airtable comparison. That article asks which database should own requests and approvals. Here, the narrower question is which client-facing entry point produces the right action in that database.
One example: a new brief and a Thursday correction
Imagine a small design studio receives a Monday request for a product brochure. It assigns request BR-104 to an account manager. On Thursday, the client changes the delivery date. The studio should have one request record with a traceable correction, not a second project that looks like a new job.
In Fillout, an Airtable-connected update form can generate a unique link for the existing record and prefill its fields. The vendor warns that when the record ID is absent from that URL, the form creates a new record instead. A missing or altered link is therefore a launch test, not a minor edge case.
In Zapier Forms, a normal form submission is an input event. Zapier also lets a non-Zapier user edit records in an embedded Zapier Tables component when its Create/Edit/Delete permissions are configured. That is not the same thing as automatically editing an Airtable row. If Airtable owns the brief, you need an explicit matching and update route, with an error path when the request ID is missing or ambiguous.
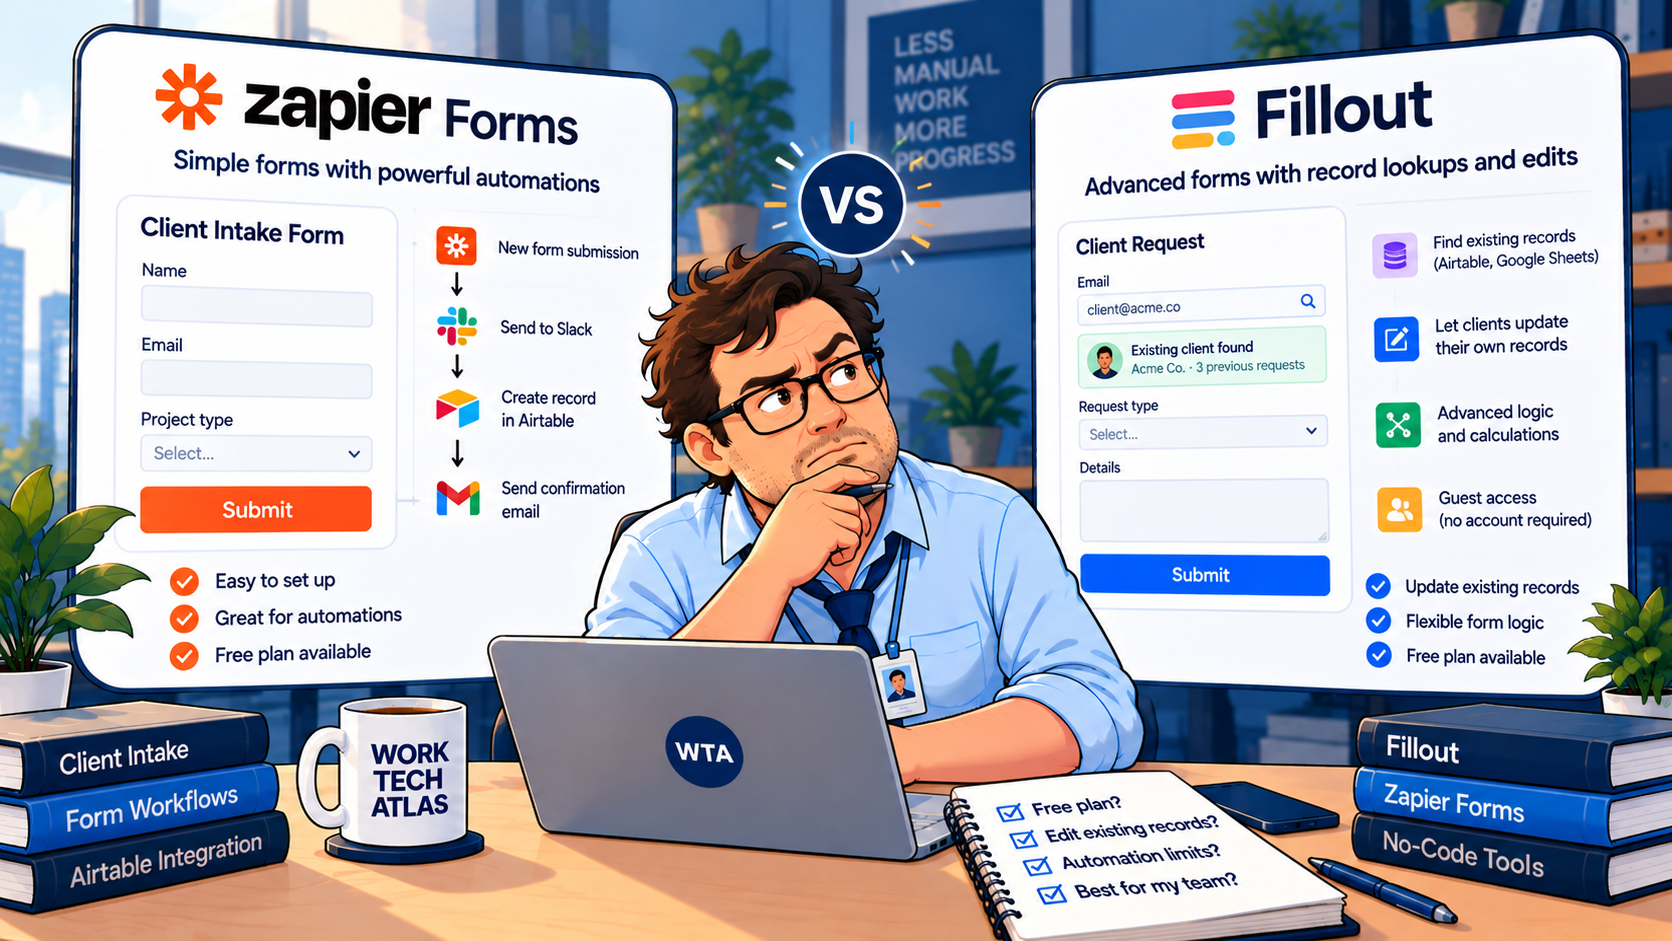
The free plans are generous in different ways
The entry price is $0 for both, but the limits are not interchangeable. Zapier separates form collection from downstream task usage; Fillout meters monthly responses on its published plans.
Zapier’s Free plan includes unlimited form projects, 10 form-project pages, up to 2,500 Zapier Tables records, 100 Zap tasks per month, and two-step Zaps. Zapier says form submissions themselves are not billed per response.
That does not mean every automation downstream of a form is free: actions in other apps can count toward task usage. Zapier Forms conditional field logic is listed for Professional, Team, and Enterprise, not Free. Zapier’s current Professional starting price is $19.99/month on annual billing; the account’s task tier and billing cadence can change the total.
Fillout Free allows 1,000 responses per month, unlimited forms and seats, conditional logic, and most native integrations including Airtable. Its published annual-billing rates are $15/month for Starter (2,000 monthly responses), $40/month for Pro (5,000), and $75/month for Business (unlimited responses). These are subscription rates paid annually, not month-to-month checkout prices. Fillout also reserves some features, such as login forms, for paid tiers.
| If your team needs… | Budget implication |
|---|---|
| A public intake form with simple questions | Both have a usable free starting point |
| Branching questions before submission | Fillout includes conditional logic on Free; Zapier Forms requires Professional or above |
| A client to revise an Airtable record | Fillout’s documented update flow is a direct candidate; test access and record matching |
| Multiple downstream app actions | Count Zapier tasks and plan restrictions; do not assume the form’s free trigger makes all actions free |
| More than 1,000 Fillout responses per month | Compare a paid Fillout tier with the actual Zapier workflow, not only the form price |
A price comparison that ignores the database, task volume, and who needs to edit is misleading. A form that costs nothing but creates duplicate projects is not the cheaper workflow.
Client access is a separate purchase decision
Zapier Forms projects are public to anyone with the link by default. Zapier documents password and managed-user access options, but restricted access is a plan decision. A public link is appropriate for collecting a new inquiry; it is usually not sufficient protection for a page showing another client’s request details.
Fillout’s record-specific Airtable link is convenient for a correction. But the link identifies which record to update; it should not be treated as identity verification by itself. Do not place private financial, medical, or contract data on a prefilled public form merely because the URL looks hard to guess. Consider authenticated access and limit editable fields to what the client genuinely needs.
If your client needs to see all their projects, files, invoices, and past approvals repeatedly, you may have outgrown a single form. Our Fillout vs Airtable Portals guide covers that different decision: a one-time correction link versus an ongoing guest workspace.
One rule is worth writing above the team’s desk: client-facing forms may propose a change, but internal status fields such as Approved, Invoice paid, or Ready for delivery should be controlled by the responsible team member or a reviewed automation. A hidden field is not an approval policy.
A workflow that survives corrections
For a three-person agency, start with three clearly different events: new request, correction, and approval. They should not share the same automation trigger just because they arrive through a form.
Zapier-first route: Let the new request enter a Zapier Table. Assign a stable request ID. Notify the reviewer, but do not create the delivery project until the request has been accepted. If a client needs to edit a record, configure the table component’s permissions carefully; if you send updates to Airtable or Asana, match by the stable ID and make the operation update rather than create.
Fillout-first route: Connect a new-request form to Airtable. Keep the Airtable record ID in the team’s record. For corrections, generate the documented record-specific Fillout update link and share it with the intended recipient. Review changed fields before triggering delivery. When a client changes the scope after sign-off, reopen review rather than silently treating the earlier approval as covering the new version.
The downstream task handoff deserves its own guardrail. In our duplicate-safe Fillout → Airtable → Asana workflow, the request record owns the identity of the job; creating an Asana task is a later decision, not an automatic reward for every submission.
Six checks before the client sees the link
- Submit a genuinely new request. Confirm exactly one authoritative record is created and it gets a stable identifier.
- Submit the same request twice. Decide whether to reject, merge, or flag the duplicate; don’t pretend the form prevents it automatically.
- Open an edit link with its record identifier removed. In Fillout’s Airtable update mode, verify the documented new-record behavior and decide how your team will catch it.
- Change one field only. Check that untouched dates, attachments, owners, and approval flags survive the update.
- Open the link as the wrong person. Test access restrictions, visible fields, and whether one client could view another client’s data.
- Change an approved request. Verify that the revision triggers a fresh review and does not send a second project-creation instruction.
These are proposed acceptance tests, not results from hands-on testing by WorkTech Atlas. Record the outcome in a small launch checklist and retest whenever you change form mappings or access settings.
Which would we choose?
For a Zapier-centric service team collecting new requests: Start with Zapier Forms. It keeps the intake and routing close together, and a simple form may be all you need. Budget for the Zaps, the record storage, and any paid access or conditional-logic features you actually use.
For an Airtable-centric agency whose clients correct briefs: Start with Fillout. Its record-specific update mode is a more direct fit than building an Airtable lookup and update route from scratch. Treat the edit link as a controlled capability, not an identity check.
For a client who logs in weekly to manage multiple jobs: Compare portal software instead. A form can collect a change; it is not automatically a good ongoing client workspace.
For a wider view of where automation should begin and end, see our Airtable Automations vs Zapier client-intake comparison.
Source check (October 30, 2026): Zapier pricing, Zapier Forms guide, Zapier conditional logic, Zapier table editing, Fillout pricing, and Fillout Airtable update instructions. Vendor plan details may change.
WTA VERDICT
Choose the form by what happens on the second visit. Zapier Forms is a sensible starting point for new requests inside a Zapier-led workflow. Fillout is the more direct candidate when Airtable clients must edit an existing brief. The hidden cost is not the form subscription; it is a wrong record, an unsafe edit link, or a duplicate handoff.
3-Line Takeaway
- New request: Zapier Forms fits a Zapier Tables-and-Zaps workflow.
- Existing Airtable record: Fillout has a documented record-specific update path.
- Before launch: Test identity, missing IDs, duplicate submissions, and post-approval changes.

Leave a Reply